Midori Traveler’s Notebook

One of the best purchases I’ve made lately is a brand new black Midori Traveler’s Notebook. And OMG I am in love! Now I am not a big planner girl. I do not own a Kikki K, Filofax or not even a regular ring bound planner. So when I stumbled across the Midori and learned more about it, I knew it was the one for me. The system works for me and my needs. I love the versatility of it. I love how I can have an insert for each thing that I need whether it be for lists, for scheduling (or planning), journaling, or any random thing. 

There is a whole community on Facebook for Midori lovers. So many resources for DIYs of inserts and even DIY traveler’s notebook. I also love how Etsy has multiple sellers of copycat TNs with different colors and styles available. 

I immediately ordered my Midori and some inserts and extra bands from Amazon. Hooray for Prime Shipping! I didn’t have to wait too long to receive it. Then I got some charms to attach to the elastic band to give it a personal touch. 


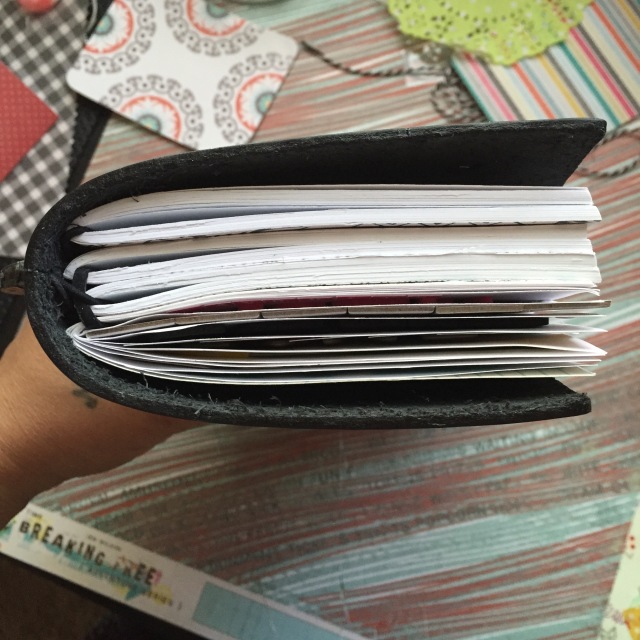
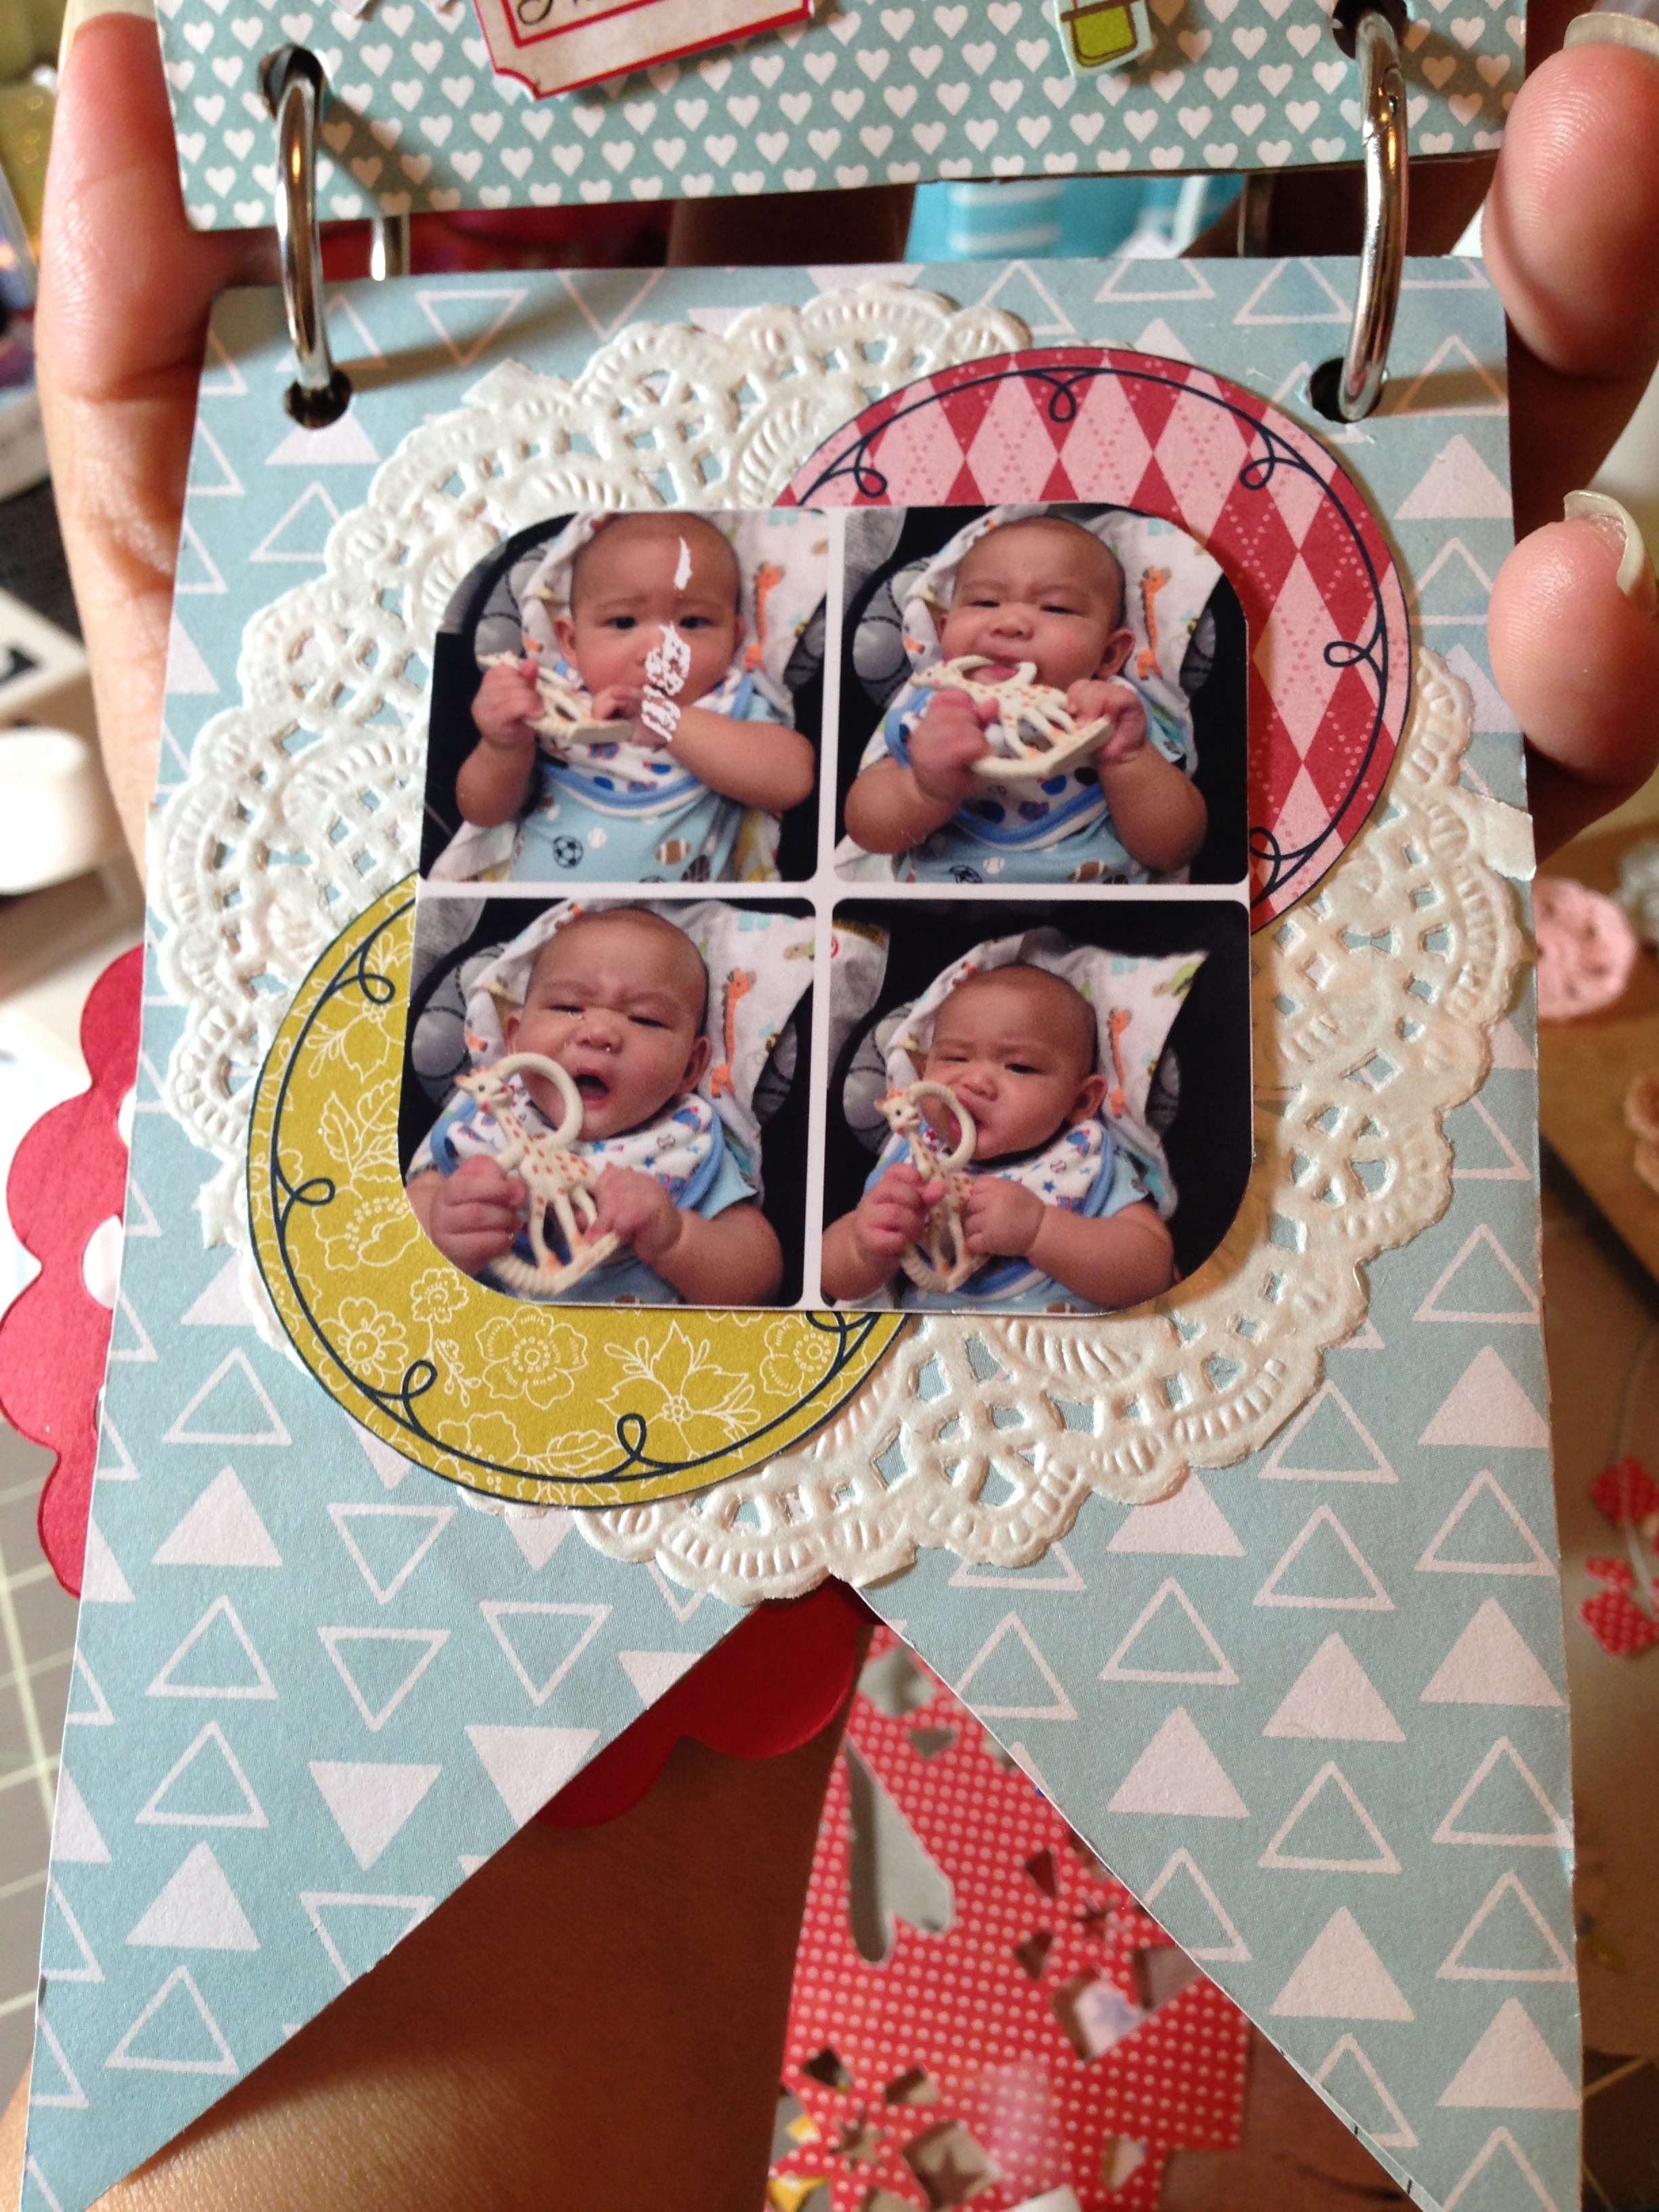
I currently have four inserts in my Midori. All of them I made on my own. Here are some samples. 


I love how these turned out. I used scrapbook paper for covers. Finally have a use for it other than sitting in my paper container. And then used embroidery floss to bind the notebooks. I’ve actually ordered a long reach stapler as well for easy binding. I can probably make a ton of these! 


30 Days of Lists

I’ve recently got in on this challenge I came across on Instagram called 30 Days of Lists by TheResetGirl. It’s basically creating s list of things following different prompts for ear day of the month. Then you post it on Instagram with the hashtag Listersgottalist. It’s loads of fun and it makes you think real hard of the things you want to include in the list. 

There is also a whole community of “listers” on Facebook posting photos of their creations whether it be on a Midori insert, a filofax page or just a regular notebook.

Check out http://listersgottalist.com for April’s prompts. You can download a sheet you can past or stick in your planner or notebook. 

Here are a couple of pages I’ve completed in the past two days. I may just stick to this challenge! 


Pocket Letters

There’s a new fad in the pen pal and snail mail world. It’s called Pocket Letter Pals. If you haven’t heard yet, it’s basically filling a 9×12 baseball card sleeve with paper, washi, ephemera, sticky notes and other random things that can fit. It’s another unique way of sending happy mail to your pen pals from all over.

I’m having a ton of fun making these pocket pages. I have more than a dozen people to send to. Check out some pages I’ve made below:

IMG_5939

IMG_5945

DIY 3-Tiered Stand

When I saw this 3-tiered stand from Pottery Barn I immediately said “I want it!!!” But what the heck is up with the $69 price tag? Sooooo… Like what I always say when I see something I want but don’t wanna fork over big bucks, I can probably make that. And whaddya know, there are a lot of tutorials online and Pinterest.

So I searched for easy tutorials and have found this blog has a post about making one. So easy!

For some reason though none of my local thrift stores had any cake pans ORRR candle stick holders (bummer!). But luckily we made a trip to the Pasadena Rosebowl Flea market last month and that is where I found my pans (yayyy!!!).

I got 3 vintage round pans and they even turned out to be the perfect sizes. It was like it was made for my project. Then I got these wooden candle sticks from Michaels because I couldn’t find any (that were cheap anyway).

I painted them gold, then teal and lastly a dark shade of brown. And of course I sanded it to give it that distressed look to match my rusted pans. They turned out perfect!

20140225-210129.jpg

20140225-210140.jpg

20140225-210151.jpg

After that I used E6000 glue and glued em on together. I was too excited I didn’t even measure the center, I just winged it. It’s a little off center but so what, I still love it!!!

20140225-210507.jpg

20140225-210522.jpg

Hooray for more storage!

Distressed Mini Magnet Frames

Here is one of the many little projects I’ve been working on a couple of weekends ago. I got these really cool 3 inch oval frames from the thrift store. I think it cost 75 cents for 6 of them (score!).

Anyway they were originally stained brown to look like wood I guess. Why I never took a “before” photo I will never know. I then tried to sand off the stain for the first frame. And gosh did that take a long time. So then I tried primer without sanding and then painted it. It looks just the same as if it was sanded before painting. Primer is my new best friend!

On the back of the frame there was a single piece of magnet. It was perfect for where I was gonna place them at. The fridge!

20140219-155858.jpg

20140219-155915.jpg

January Mini Album

I had so much fun putting together this mini album for January. Although I have been behind with my monthly minis, I couldn’t wait to get this one started. It was so easy, it took a couple hours.

IMG_1861

I used my trusty Silhouette to cut 3.5 inch square borders. Aaannnd,  I used some plastic CD sleeves that DH had lying around for his mixtape CDs. After I cut those to size, I run them through my sewing machine to seal ’em up!

IMG_1863

IMG_1864

For the last “page” of the album, I got the idea from Studio Calico’s Confetti Pockets and then found a tutorial from the MME’s website here. This was the most fun part. Punched holes from different paper scraps I had lying around.

IMG_1867

Personalized Holiday Wreath

As we kind of settled into the new house I wanted to make something personalized for the holidays. What’s better than a wreath with our family initial? I probably spent a good hour  in the garage going through boxes to find all the materials I needed. We were still unpacked at that time and my entire craft stash were still in boxes. Ugh.

I had to get a wreath frame from Michaels and a wooden V. I already had the cream deco mesh, burlap and jute twine. I’ve seen a lot of DIY wreath tutorials online but it’s either with deco mesh OR burlap and not both. So I decided to combine the two and it turned out really nice. I followed this YouTube tutorial for working with deco mesh http://www.youtube.com/watch?v=eUSKQgRxPHU. And then I followed this one for the burlap http://www.youtube.com/watch?v=ZzsCbHT8IvA.

IMG_1708

IMG_1826

The initial was pretty easy to do, you just wrap the twine until it’s covered and glued the ends. After doing that, I glued some cranberry looking decor on the letter. Now, attaching the letter to the wreath itself was a little tricky. But I did figure out a way. I got some twine and tied it to the wreath and made it look like it’s part of the initial.

IMG_1825

Used more twine to hang the wreath on our door. And there you have it.

IMG_1824

IMG_1730

Customized Wooden Letter

I had the chance to do some crafting despite having just moved to a new house and all my crap are still in boxes. Anyway I got this wooden letter from Michaels for $3.99. I saw this idea while browsing on Pinterest (who hasn’t gotten ideas from there anyway?). I picked a paper from one of my baby themed paper packs and mod podged it to the wood. After impatiently waiting for it to dry, I got my Xacto knife and trimmed the excess paper. Then I sanded the sides to smoothen it.

20131201-013607.jpg

Instant nursery decor. Very easy to do.

20131201-014259.jpg

Upcycling

So over the weekend I had some gals come over for a lil craft/crop party. One girlfriend of mine upcycled an old skirt which kind of like had a canvas-y fabric and used it to cover an old box. It turned out so nice. It then inspired me to do some upcycling myself.

I went through my closet to find something I haven’t worn in ages and make something out of it. I found a skirt I probably haven’t worn in 2 years during my pre-baby skinny days (how I miss those days). I wish I took a picture of the skirt before I cut it all up. But here is what it looked like when I cut up some pieces for what I was wanting to make.

20131103-213859.jpg

I saved the one button it had and the zipper. And I cut small squares, sewed those up and even included the lining and made some awesome coin purses! These bad boys measures 3×4 inches and is really big enough to hold spare change.

20131103-214132.jpg

20131103-214142.jpg

20131103-214156.jpg

I had so much fun making these that I am going through my closet again to see the next item I will be upcycling. Since winter is right around the corner, I’m thinking of infinity scarf. But that’s for next week’s project. Til next time.

Stay crafty my friends!